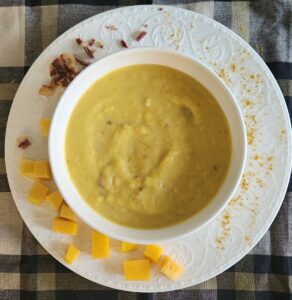
Easy Beef Bone Broth
Bone Broth is easy to make, but it does take some prior planning to go from start to finish. In this recipe, I will walk you through the equipment needed and each step in the process. The vinegar draws the minerals out of the bones, so don't be afraid to add it!The end result is rich, healing broth you can drink or use in any recipe calling for broth or water.Remember to start saving and freezing your vegetable scraps!
Equipment
- 12 Large mouth mason jars (or other containers that can be frozen)
- 1 colander (large enough to nest inside a large pot)
- 1 funnel with strainer insert (optional)
- 1 Large stainless steel pot (one able to hold 4 gallons of water is helpful)
- 1 large pot that holds the colander (optional/smaller size is fine-it's just to strain into)
- 1 Glass measuring cup with a handle (for transferring broth)
- Freezer space!
Ingredients
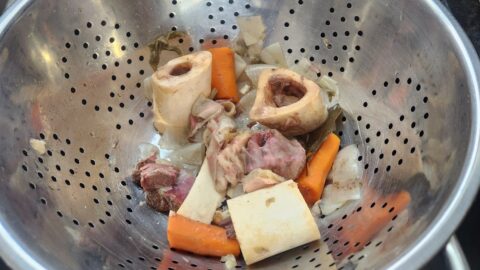
- 4-5 lbs. soup bones, preferably grass-fed
- 2 gallons filtered water (32 cups of water)
- saved vegetable scraps if using
- 2-3 tbsp peppercorns
- 3 carrots, scrubbed and roughly chopped
- 1 large onion, cut in chunks
- 3 bay leaves optional
- 4 smashed garlic cloves, skins removed
- 2-3 tbsp apple cider vinegar
Instructions
Beginning the Bone Broth
- Throw all ingredients into a large heavy bottom stainless steel pot. Cover with lid.
- Bring to a boil. Skim the foam off the top if necessary. Place the lid back on.
- Turn down to a low simmer for the next 24 hours. (I have never done this on an electric stove. You can also choose to use a crock-pot.)
- If you are not comfortable leaving your stove on overnight, you can cool the broth, place the pot in the refrigerator, and boil again in the morning then turn down to a simmer until desired time is reached. 24 hours is ideal, but 18 hours is adequate.
Straining the Broth
- Remove the pot from the heat, remove the lid, and cool slightly.
- Place a colander over an empty pot. Place pot in a clean sink.
- Using a glass measuring cup with a handle, carefully scoop out the broth and pour over the colander.
- Depending on the size of the second pot, you may need to stop and start bottling up the broth.
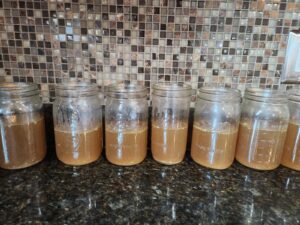
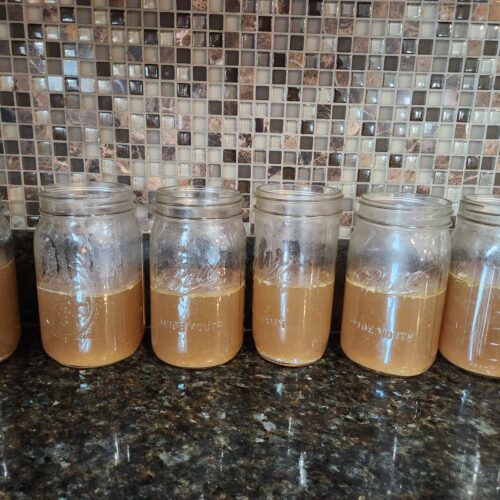
Bottling the Broth
- I use glass jars. However, if you do not have a lot of freezer space, you may opt for stack-able containers or even heavy duty zip-locks.
- This is where I use my funnel with the straining insert. Double straining is not necessary, but it does ensure you do not get any small bones or particles in your broth.
- Place your funnel in the wide mouth jar and using the measuring cup, add broth.
- Fill your glass jars only half way! Freezing obviously causes expansion. See the picture above.
- Cool the jars on the counter without the lids. Place the lids on and store in the refrigerator overnight. Then place in the freezer. Set an alarm so you don't forget to move the jars!
- This method has lessened the breakage I used to get from placing the hot jars in the freezer. Some people recommend re-opening the jars to let pressure out before placing them in the freezer.
- Throw away any vegetables from the colander. Shred any meat on the bones, freeze, and save to use in another recipe.
- I like to wait until I have around two full quart jars and make a Shepherd's Pie.
Notes
If you have any further questions, let me know! Or if you have methods that work well, please share!
Bone broth benefits literally every part of your body, from your gut to your brain, muscles and ligaments. It is a good feeling to know you are incorporating such a healthful addition into your family's diet.
Tried this recipe?Let us know how it was!